Practical, step-by-step strategies and market insight from our trading desk — written to be read, tested on a demo account, then applied with live signals in the app.
 Risk Management
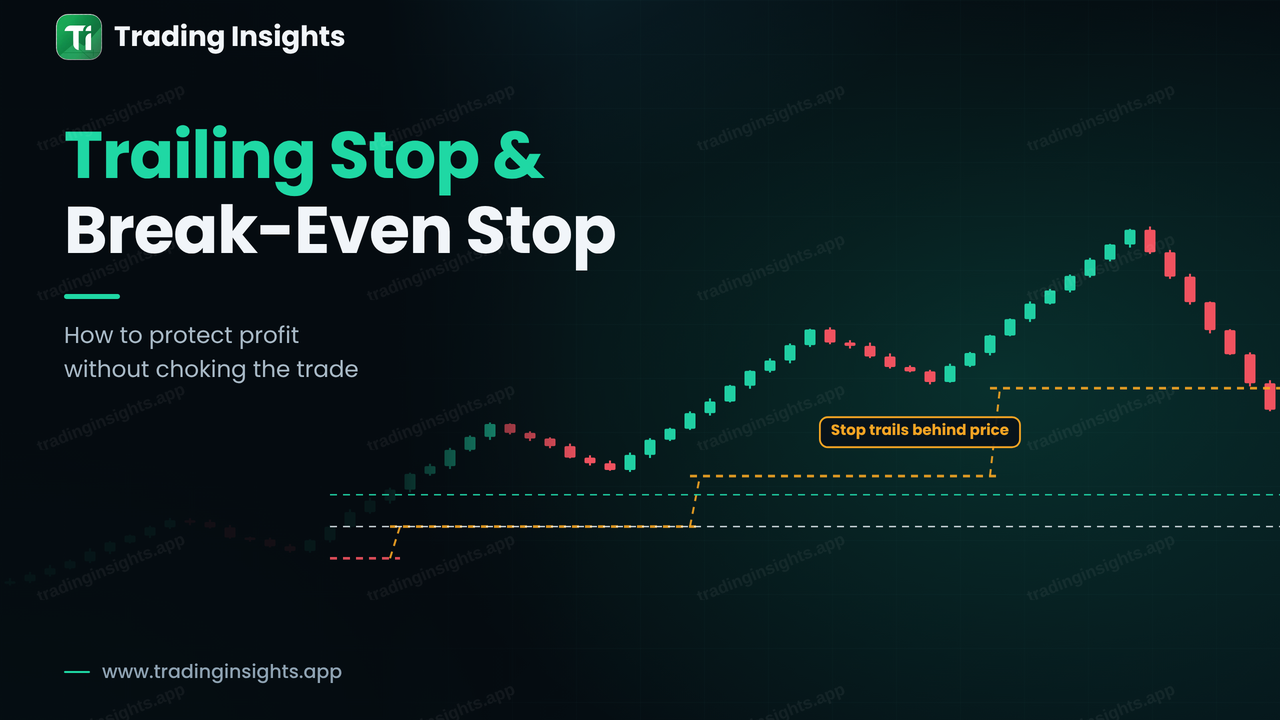
A break-even stop removes the risk of a loss once a trade is in profit, and a trailing stop follows price to lock in gains. Learn how each works, the trade-offs and a step-by-step example.
Read more →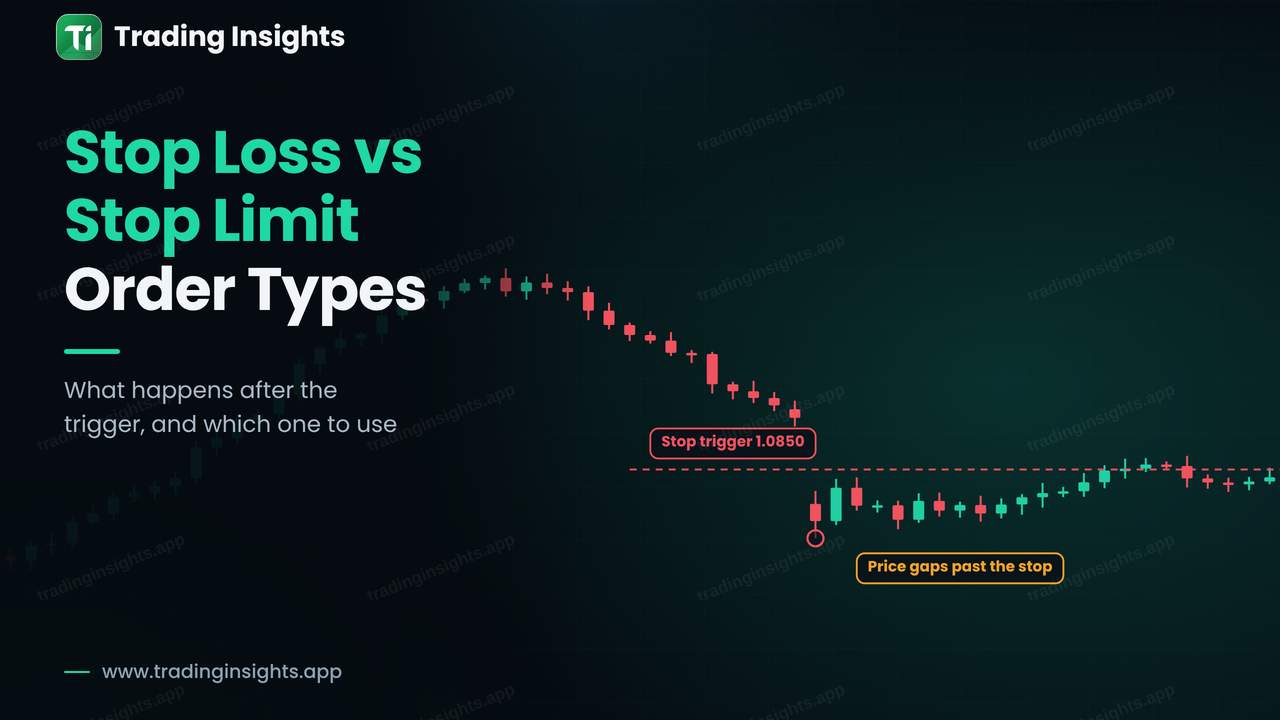 Forex Basics
A stop order guarantees an exit but not the price. A stop-limit controls the price but may not fill. See the difference on a chart with real numbers, and learn the four pending orders.
Read more →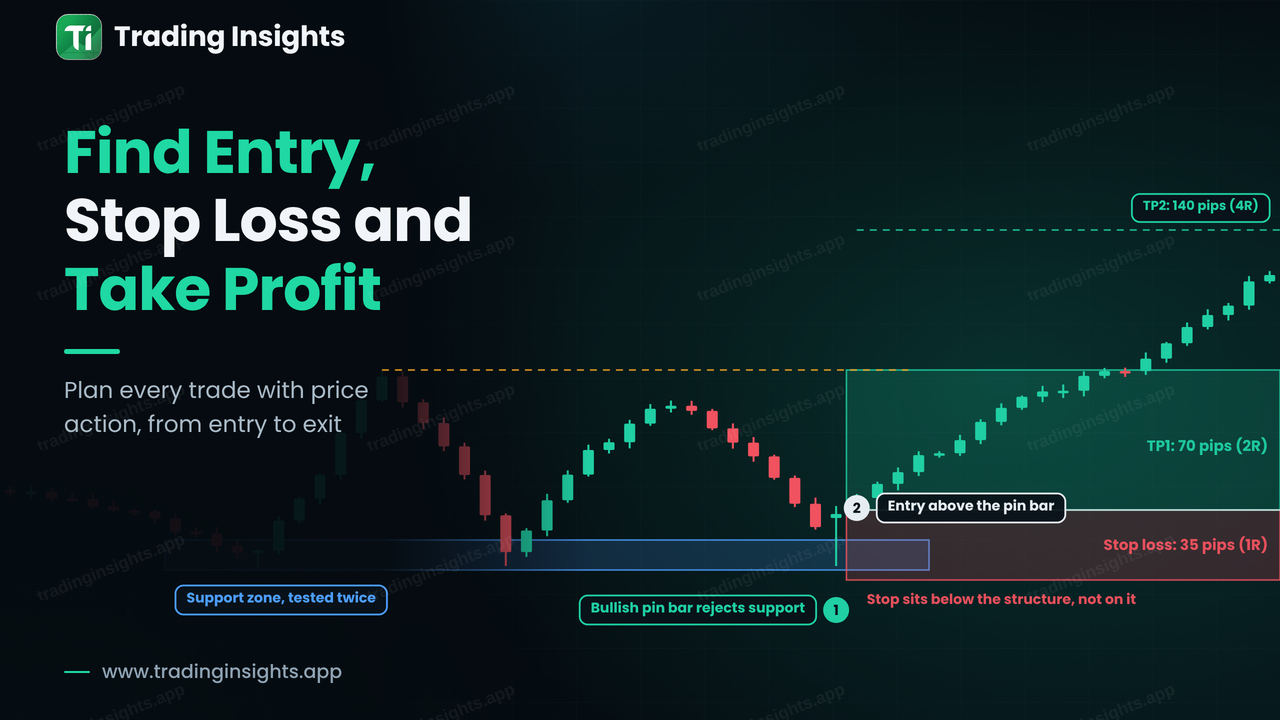 Price Action
Every trade needs three prices before you click: an entry, a stop and a target. See how to find them from support, resistance and candle signals, with long and short examples.
Read more →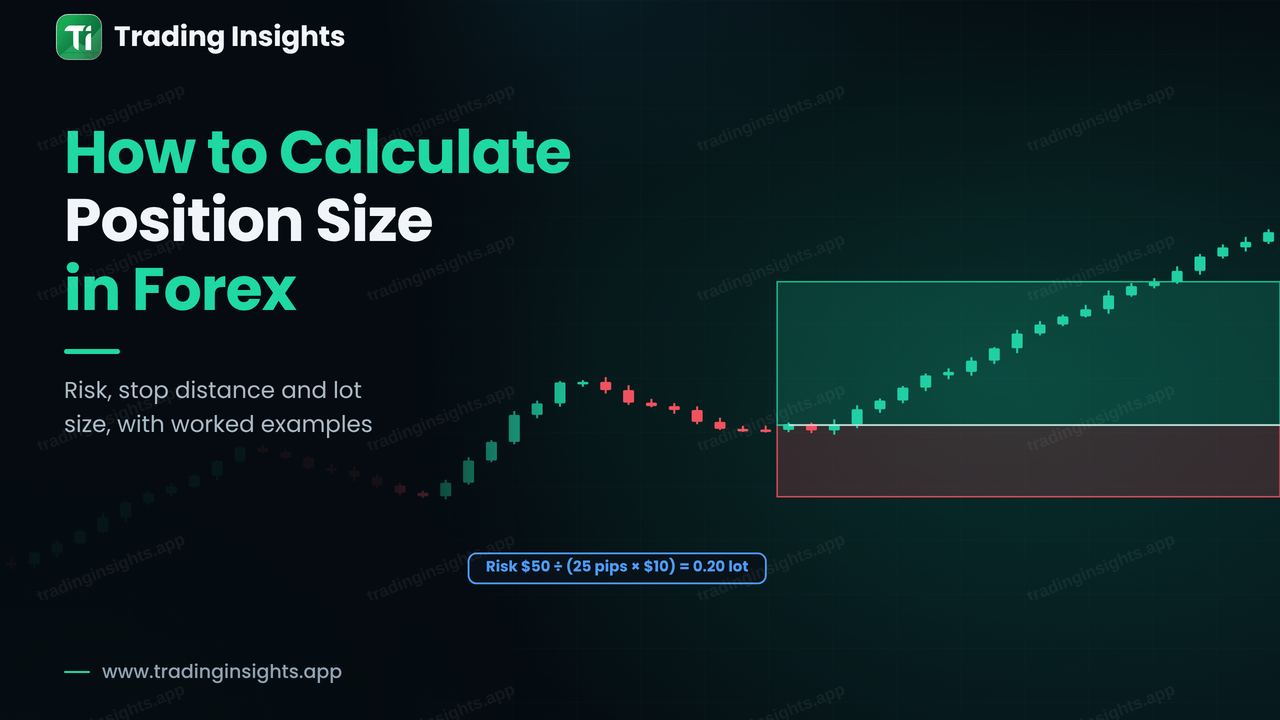 Risk Management
Position size is how many lots you trade, and it should come from your stop distance and risk, not from a guess. Learn the four-step formula with worked EUR/USD and USD/JPY examples.
Read more → Risk Management
Opening a trade is only one part of a trading plan. Traders also need a clear method for deciding when to exit, whether the trade moves in their favour or against them.
Read more →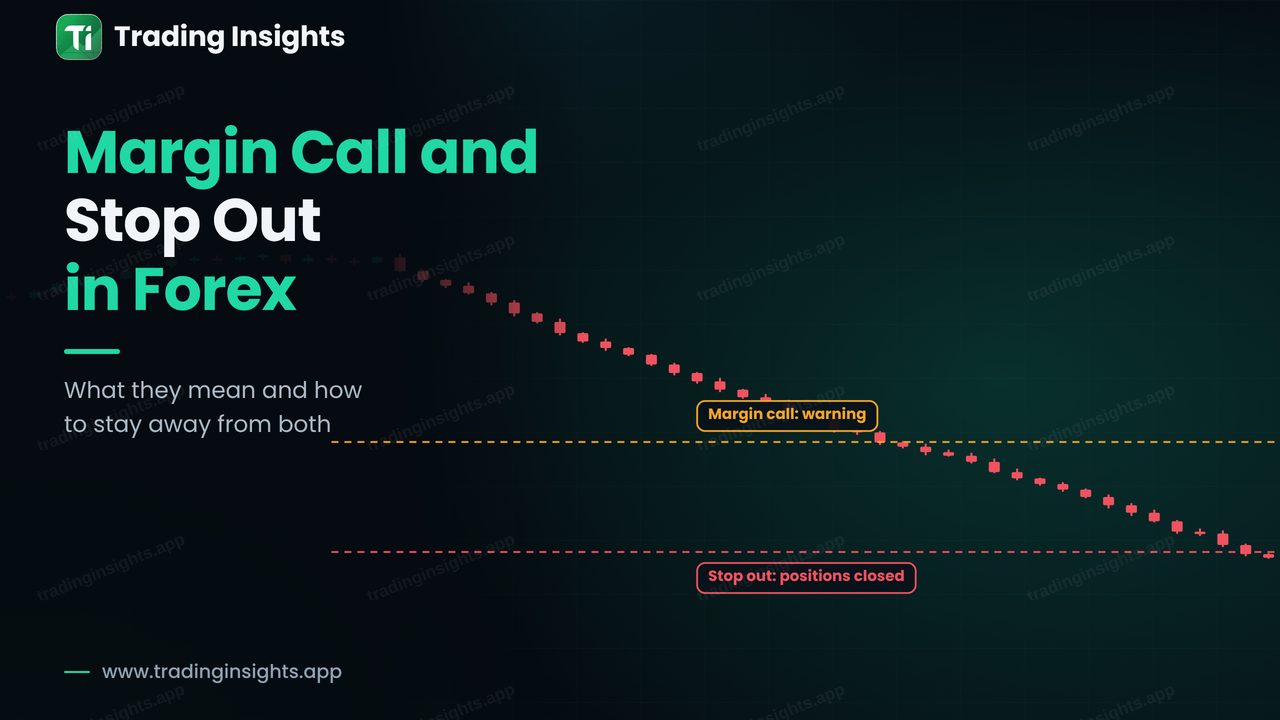 Risk Management
A margin call is a warning and a stop out is the forced closing of your trades. Learn how margin level is calculated, see how far price can move on a real-sized example and how to stay far away from both.
Read more →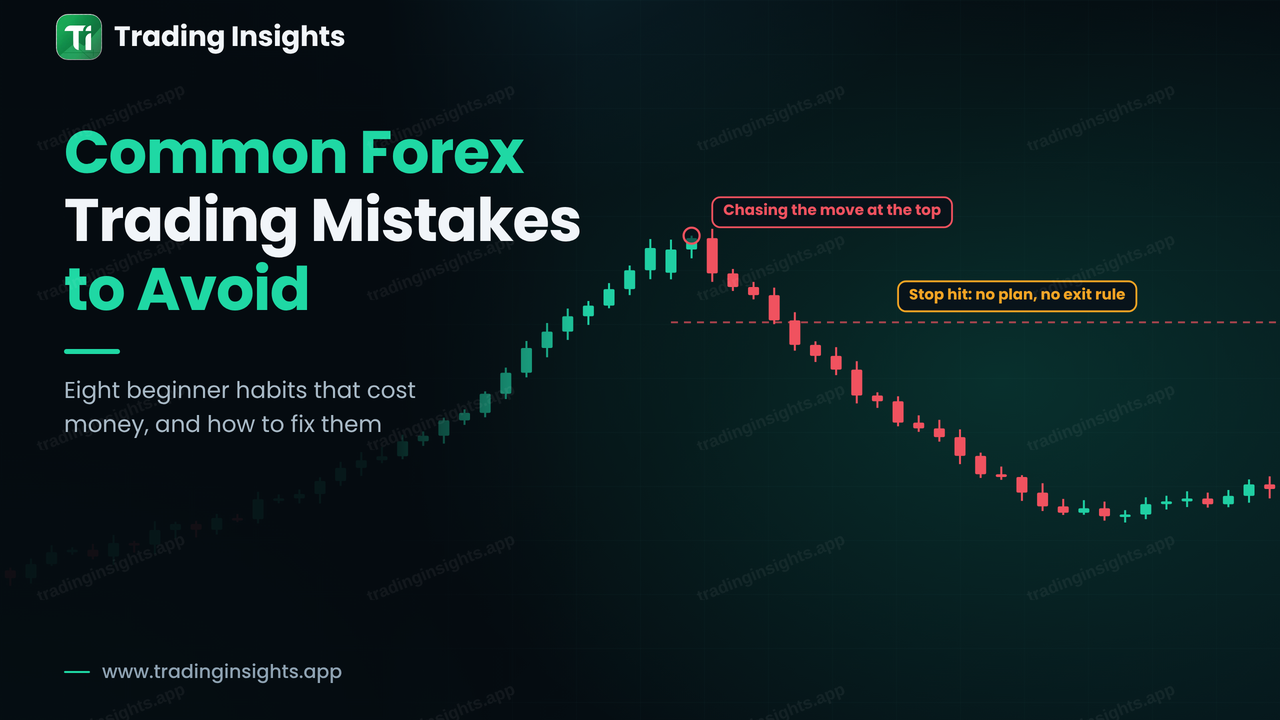 Risk Management
Most beginner losses come from habits, not from the market. See the eight most common forex mistakes, the maths of why over-risking hurts, and a chart that shows chasing vs waiting.
Read more →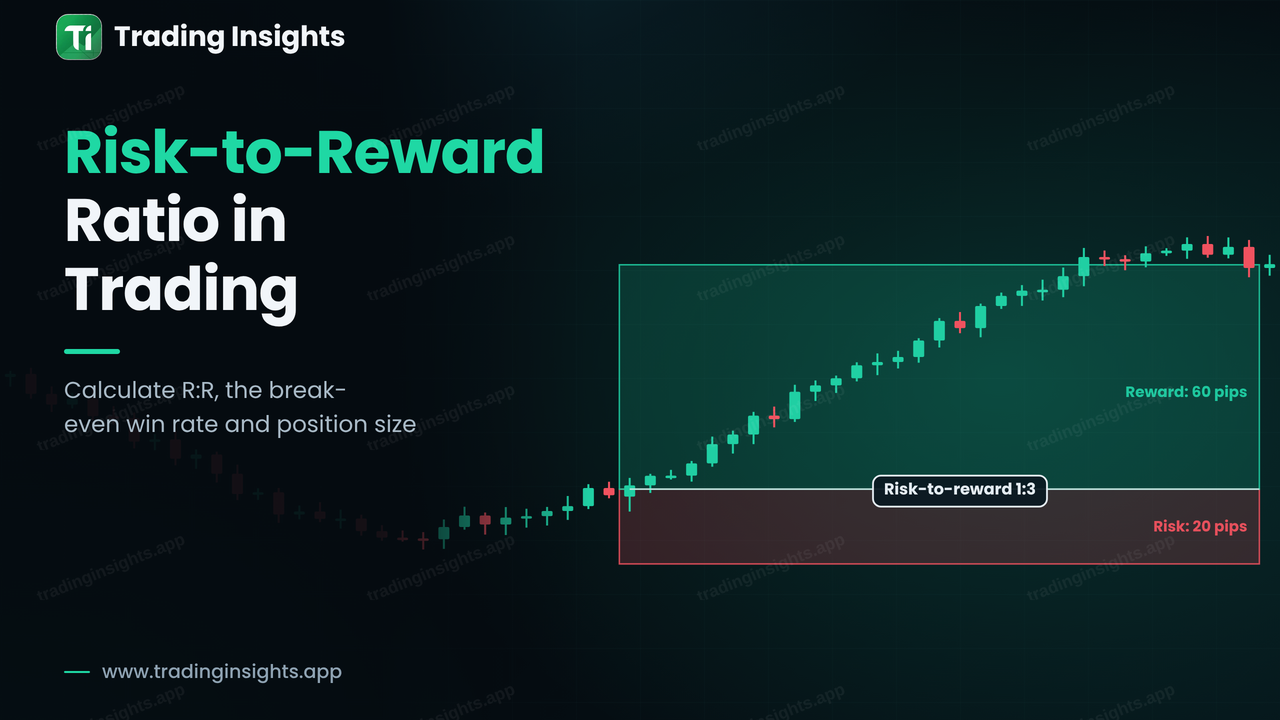 Risk Management
Risk-to-reward compares what you risk with what you can make. See the formula, the win rate you need at each ratio, how expectancy works, and how to turn it into a lot size.
Read more →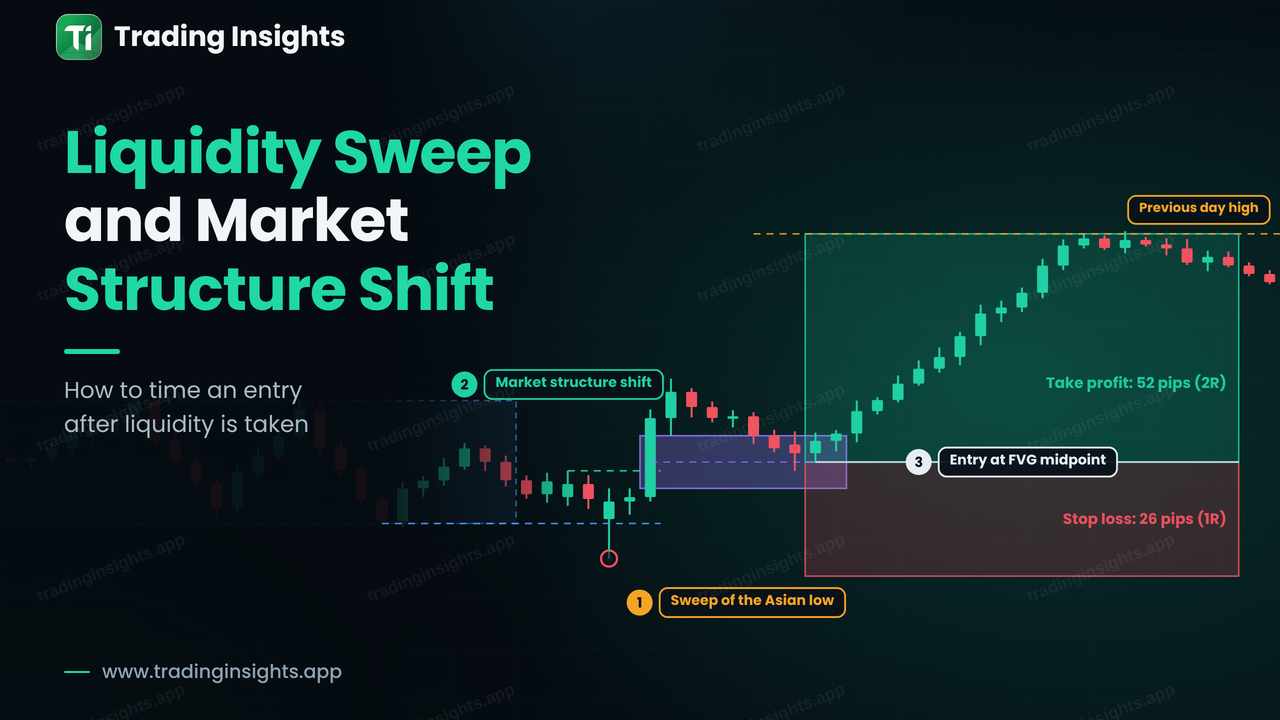 Price Action
A sweep takes the stops, a market structure shift shows who took control. This guide explains how to time an entry between the two, with worked EUR/USD and GBP/USD examples.
Read more →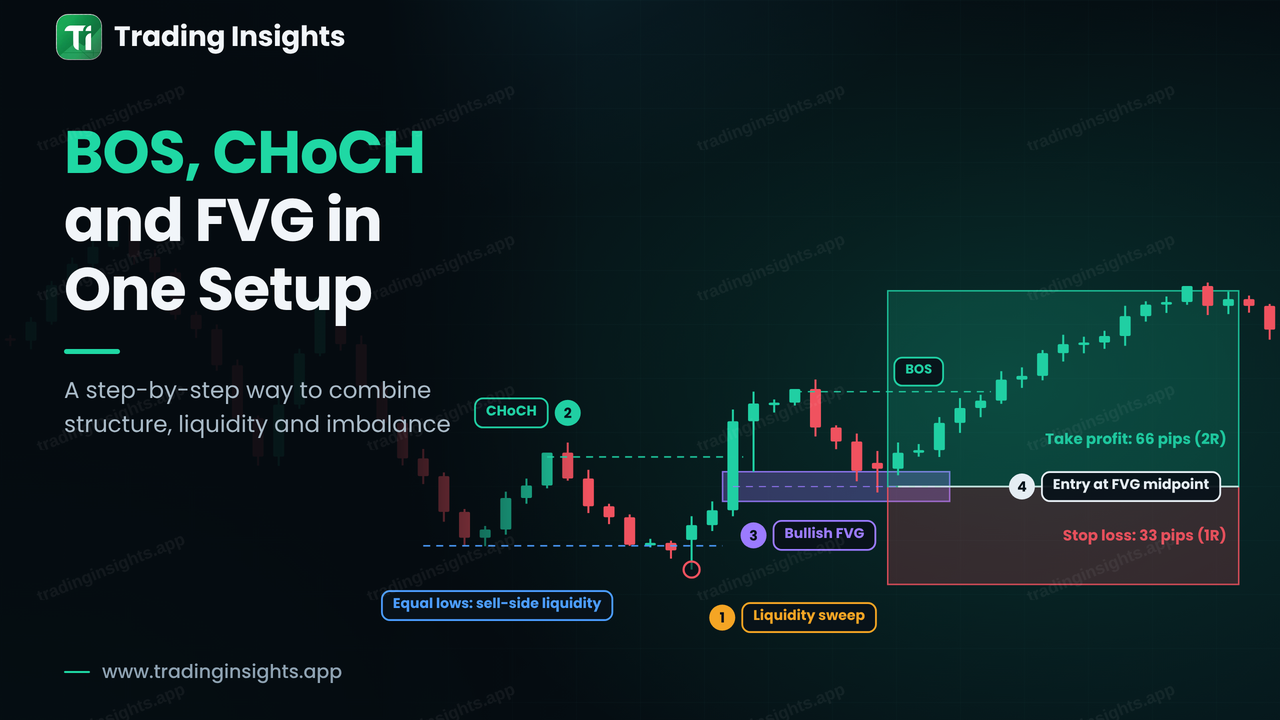 Price Action
BOS, CHoCH and FVG each answer a different question. See how they fit together in one step-by-step setup, with entry, stop loss and target worked out on annotated charts.
Read more → Risk Management
Position sizing determines how large a trade should be. It is one of the most important parts of risk management because the same price movement can produce a small loss or a very large loss depending on trade size.
Read more →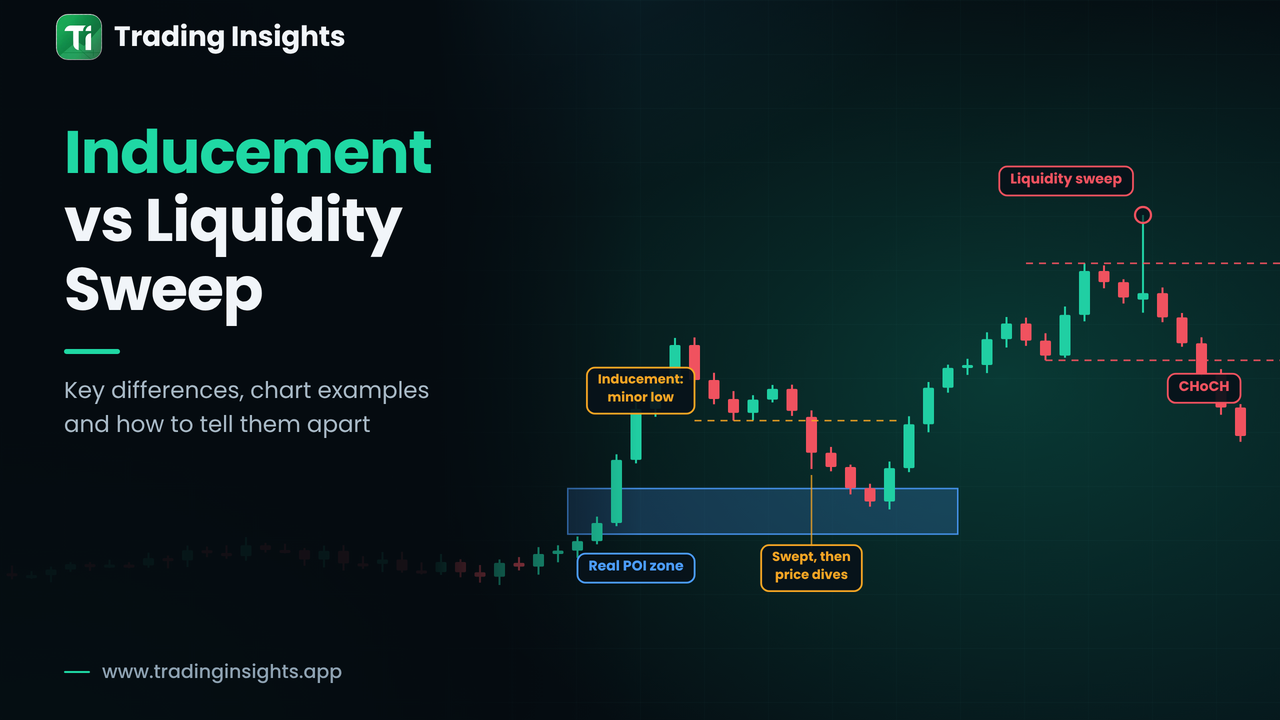 Price Action
Inducement is a minor trap inside a pullback; a liquidity sweep takes a major level. Learn how they differ, with two chart examples and a comparison table.
Read more →Signals are free on the website. Get the Trading Insights app for instant push alerts, the MT4/MT5 auto-execution EA and a live results dashboard.