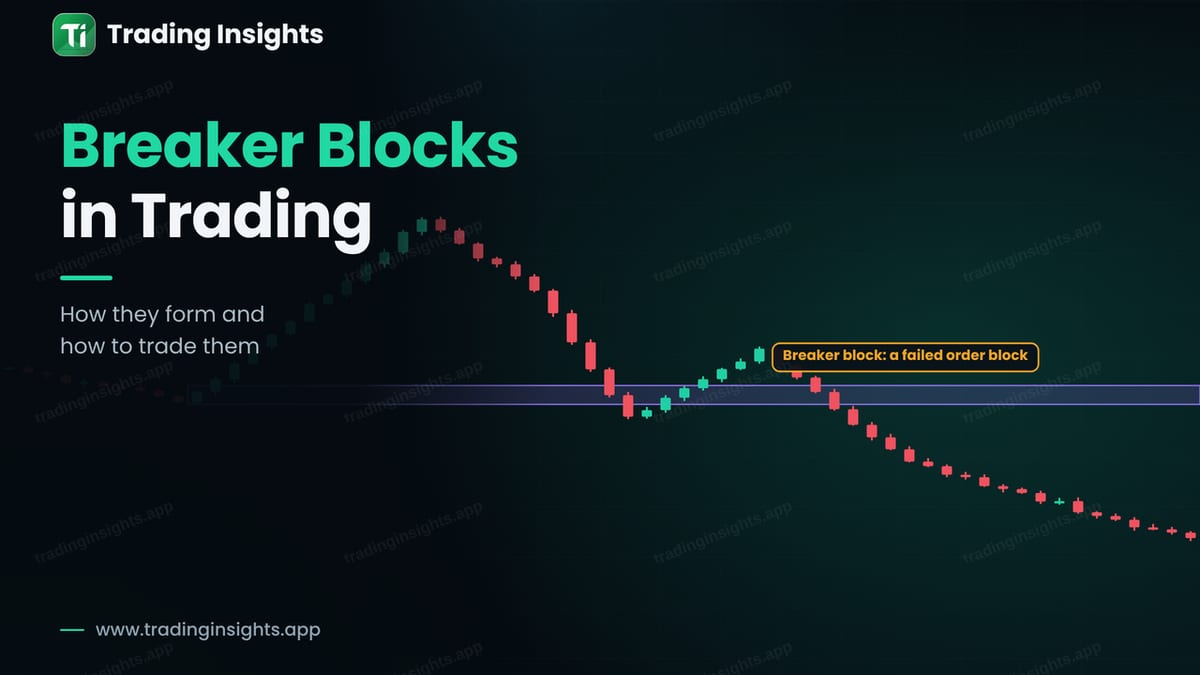
A breaker block is an order block that failed. A zone that was expected to hold price breaks, price moves through it and takes out structure, and later returns to the same zone from the other side. Traders then look at that zone as a place where price may react in the new direction. It is an advanced idea because it depends on several other concepts, and it is useful only when you can recognise the full sequence. This guide explains how a breaker forms, how it differs from an order block, and how to plan a trade with a stop and target.
How a breaker block forms
- An order block forms. For example, a bullish order block: the last down candle before a rally.
- Price makes a high and turns. It then falls back to the zone.
- The zone fails. Price closes below the order block and breaks the swing low, so the structure shifts. This is a change of character.
- Price retests the zone from below. The old support zone is now a possible resistance, and it is called a breaker block.
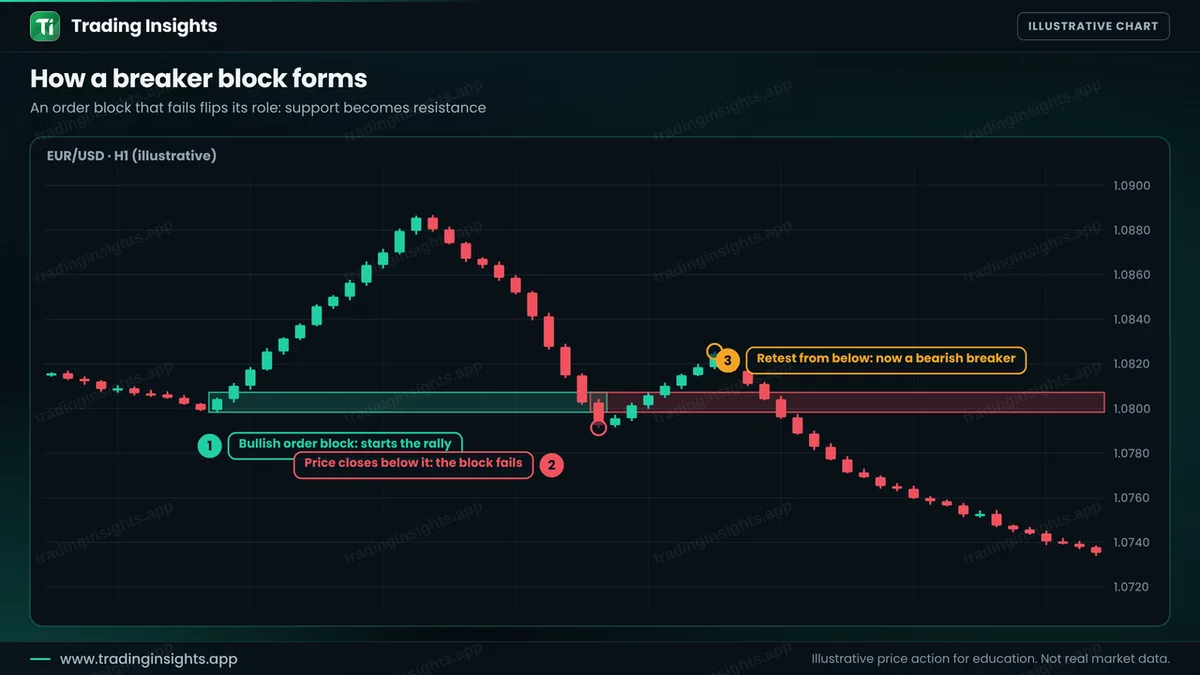
It works in reverse for a bullish breaker: a failed bearish order block, a break above it, and a retest from above. The basis is the idea of flipped levels, support that turns into resistance. For a refresher on the original zone see what an order block is.
Order block versus breaker block
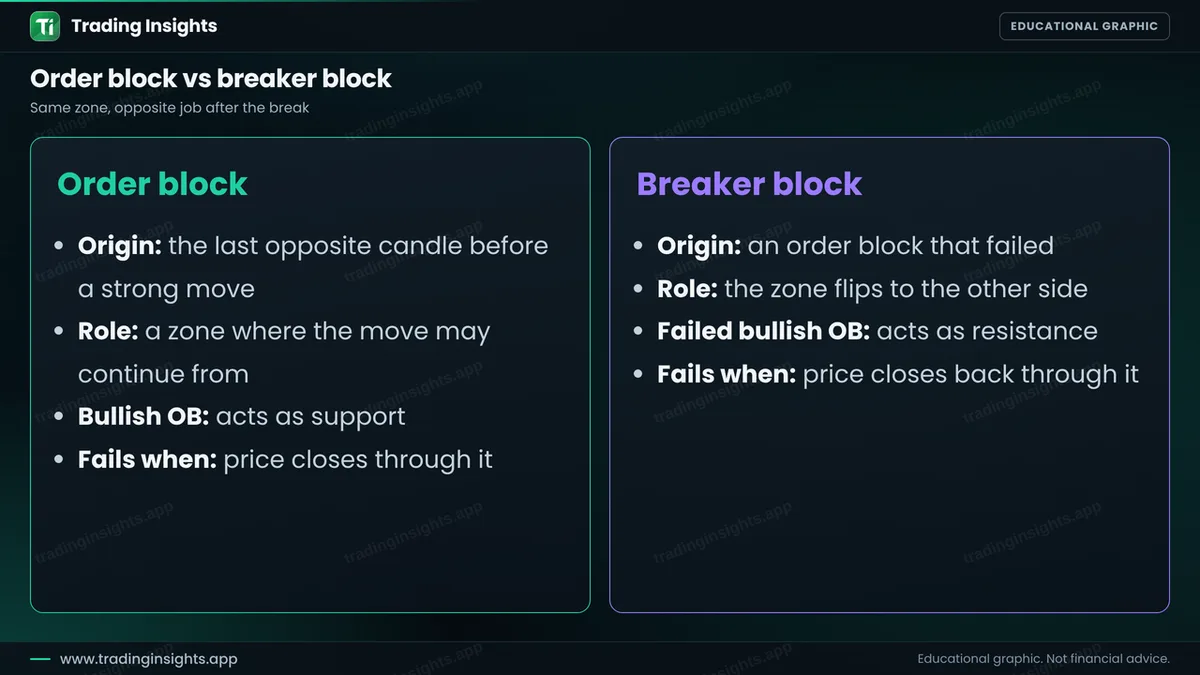
An order block is expected to hold in the direction of the move that came from it. A breaker block is the same zone after it failed, and it is expected to act the other way. The break is the main requirement: if price did not take out structure when it left the zone, the zone is still just a failed order block and is not a breaker. The retest of a zone is also explained in mitigation.
Trading a breaker: worked example
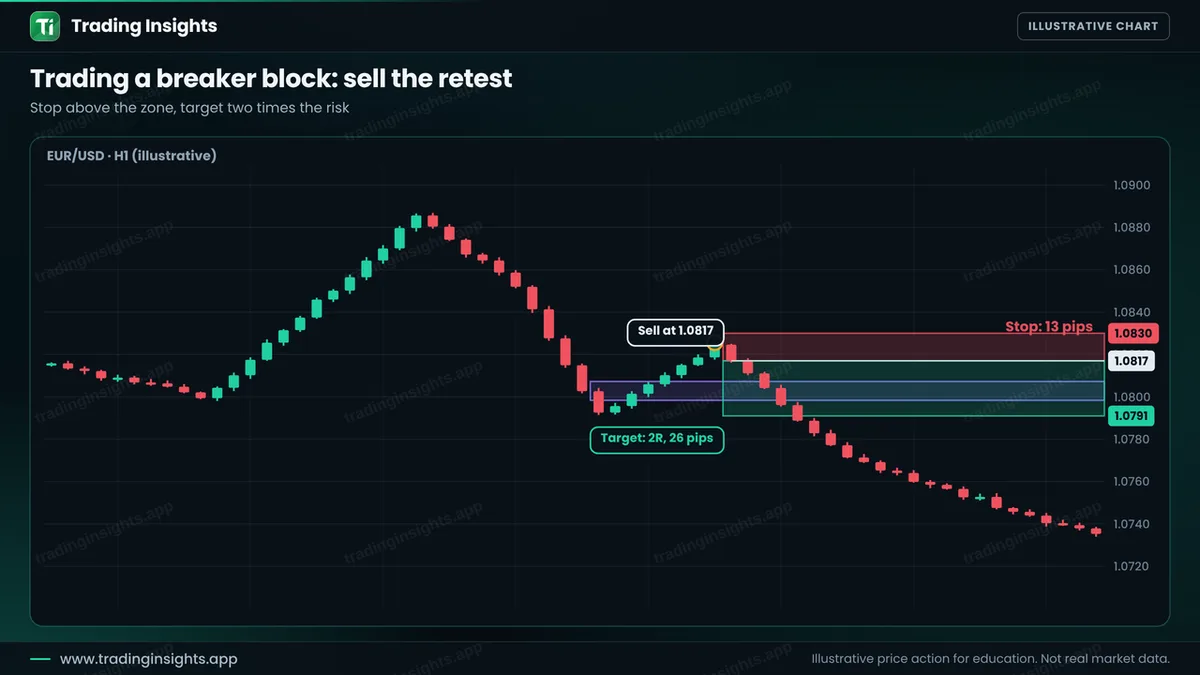
This is an illustrative sell on EUR/USD, H1. A bullish order block fails, price breaks structure to the downside, and then rallies back to the zone. You sell on the first rejection, place the stop above the zone and target twice the risk.