An order block is a price zone, usually the last opposite-coloured candle before a strong move, that is watched as a possible area of interest when price returns. A breaker block is what an order block becomes after it fails: price closes through the zone, and the same zone is then watched from the opposite side. The two are linked, but they are used in different situations.
What is an order block?
When price makes a strong move that breaks structure, traders look back at the candle (or small cluster of candles) where that move started. In a bullish case, this is the last down candle before the rally. The idea is that unfilled orders may remain around that candle, so price may react when it revisits the zone.
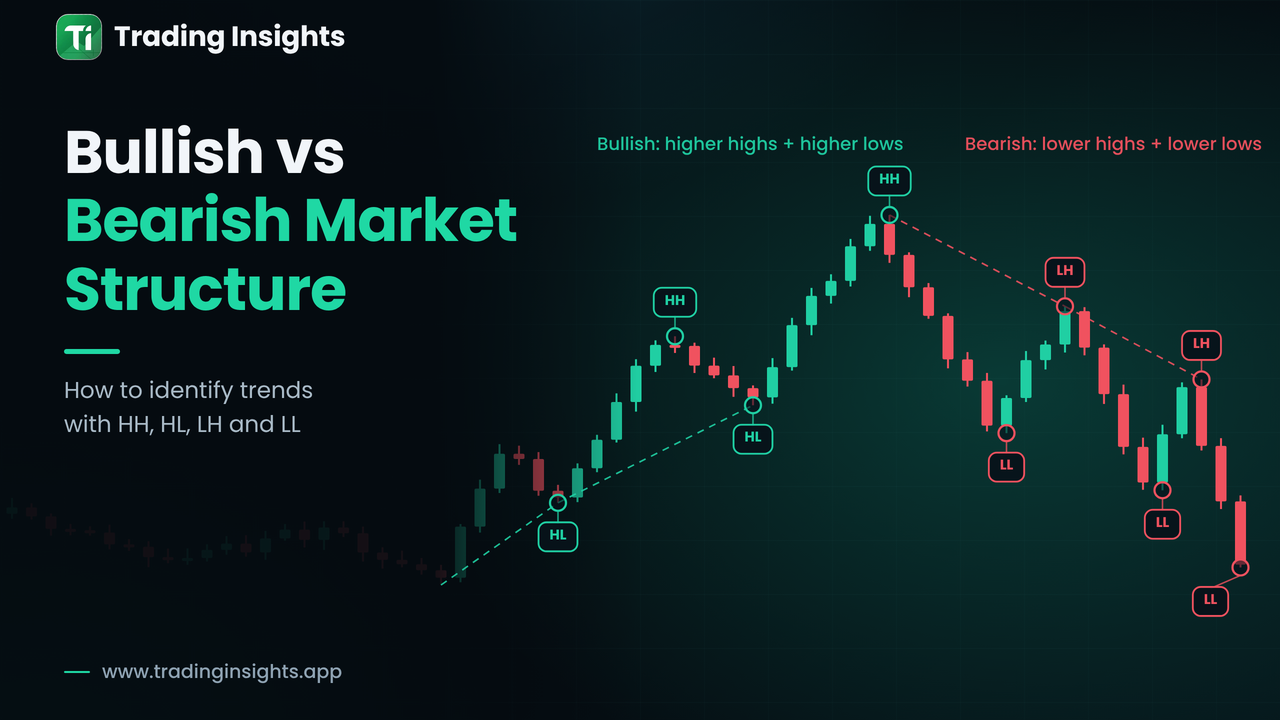
Three conditions make an order block more meaningful. The move that leaves it should be strong, ideally with displacement. It should break structure, as explained in what market structure is. And price should not already have traded fully through it. The chart below shows a bullish order block: the last down candle before an impulse that breaks the prior swing high, followed by a retest and a continuation.
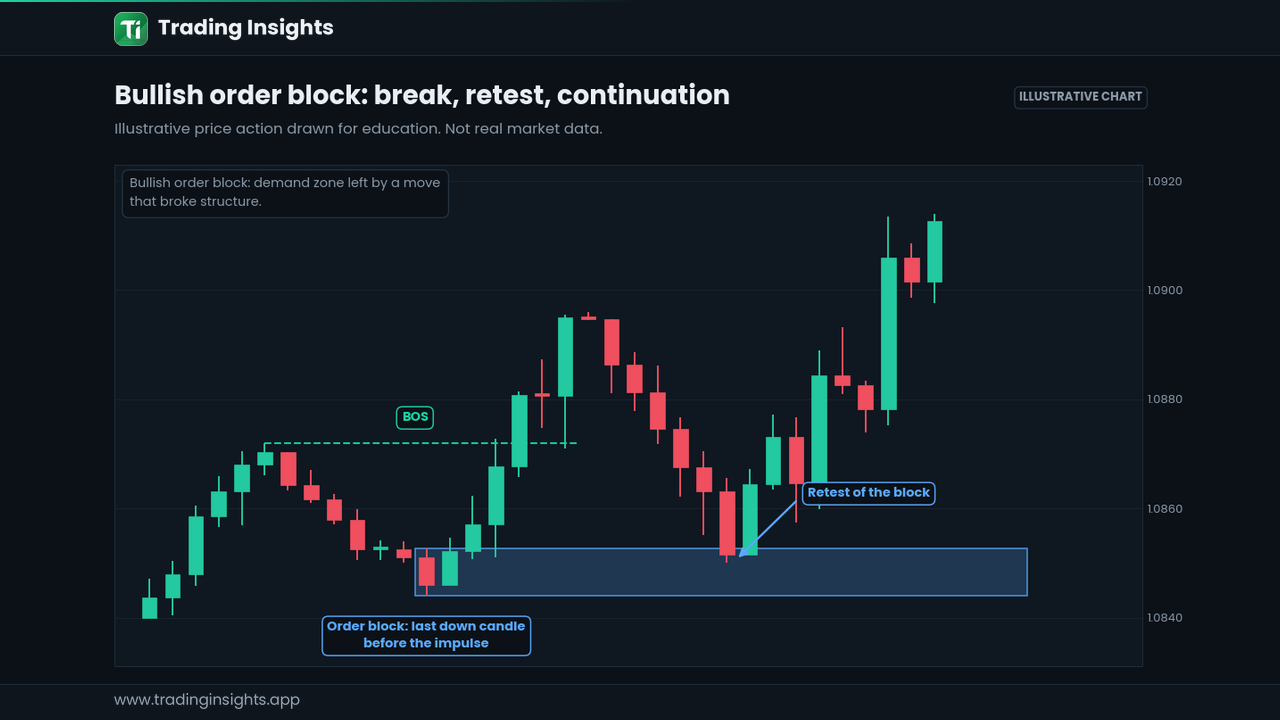
Figure 1: A bullish order block. The break of structure gives the zone its significance.
What is a breaker block?
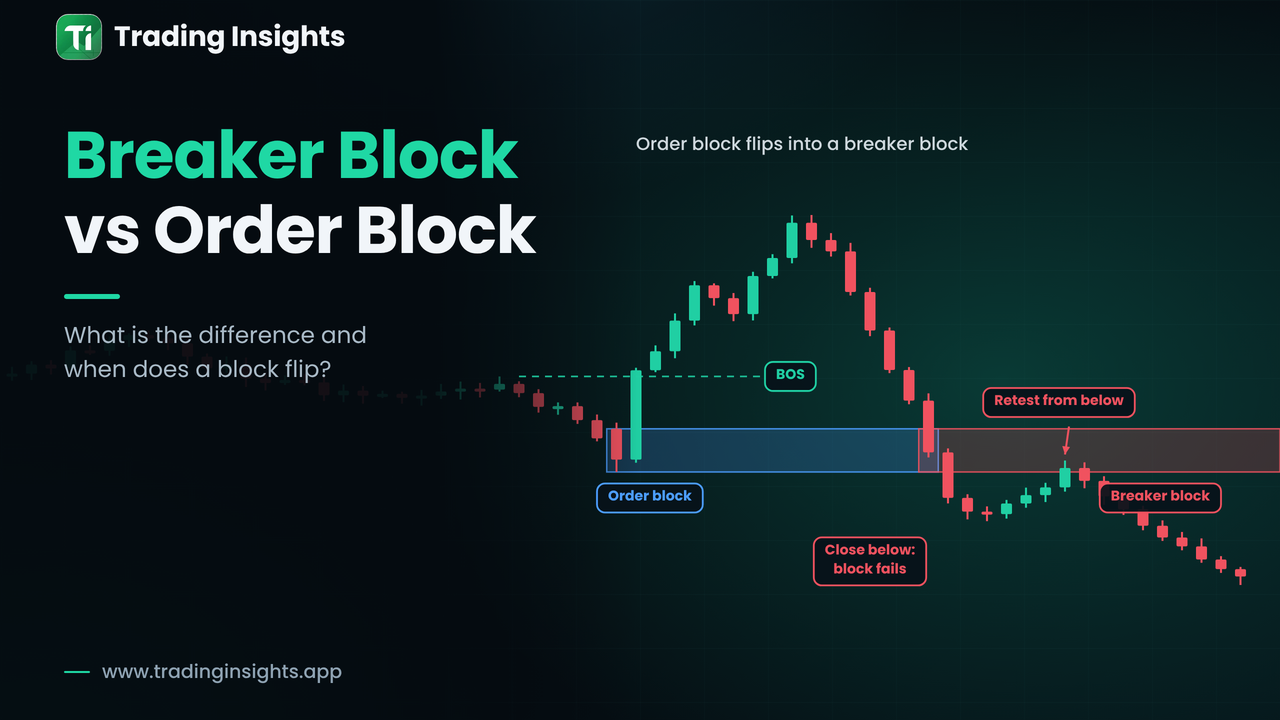
Zones fail. If price breaks back through an order block and closes beyond it, the original idea has not worked. Rather than discarding the zone, some traders treat it as a breaker: the area where buyers (or sellers) were trapped, which may now act as resistance (or support) when retested.
The chart below follows a bullish order block that fails. Price breaks structure upward (2), then reverses and closes below the block (3), which invalidates it as support. A later rally into the same zone (4) is rejected, and price continues down (5). The flipped zone is the breaker block.
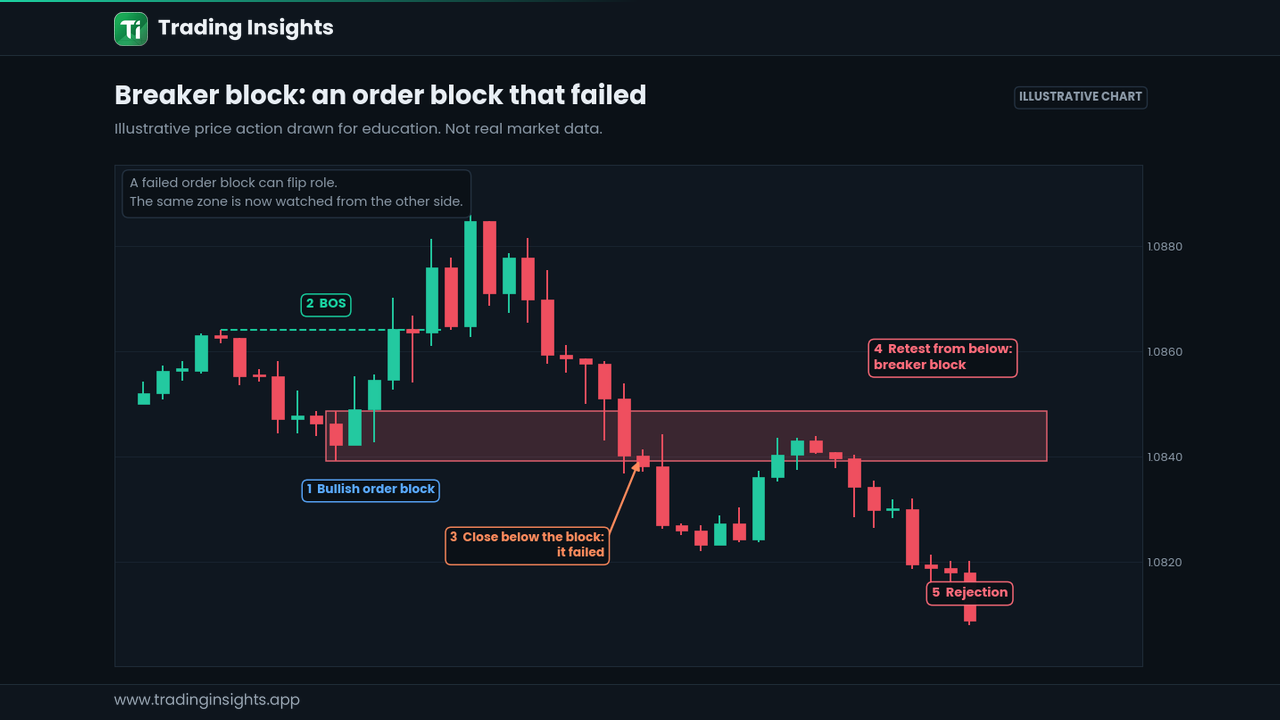
Figure 2: A failed order block turns into a bearish breaker block when it is retested from below.
Breaker block vs order block at a glance
Order block | Breaker block | |
|---|---|---|
Origin | Last opposite candle before a strong, structure-breaking move | An order block that price closed through |
Behaviour expected | Reaction in the direction of the original move | Reaction in the opposite direction after a retest |
Zone role | Demand (bullish) or supply (bearish) | Flips: former demand acts as supply, and vice versa |
Key condition | Break of structure with strength | Close through the block, then a retest |
Invalidation | A close beyond the far side of the zone | A close back through the flipped zone |
How to mark each one
Marking an order block
Find a move that clearly breaks a swing high or low.
Go back to the origin of the move and select the last opposite candle.
Draw the zone from the candle's high to its low (or use the body only, as long as you stay consistent).
Extend the zone to the right until price returns.
Marking a breaker block
Start with a valid order block that price has failed to respect.
Confirm that a candle closed beyond the far side of the zone.
Keep the same zone, but flip its meaning.
Wait for a retest from the new side and watch the reaction, ideally alongside a shift in structure.
How they relate to other ideas
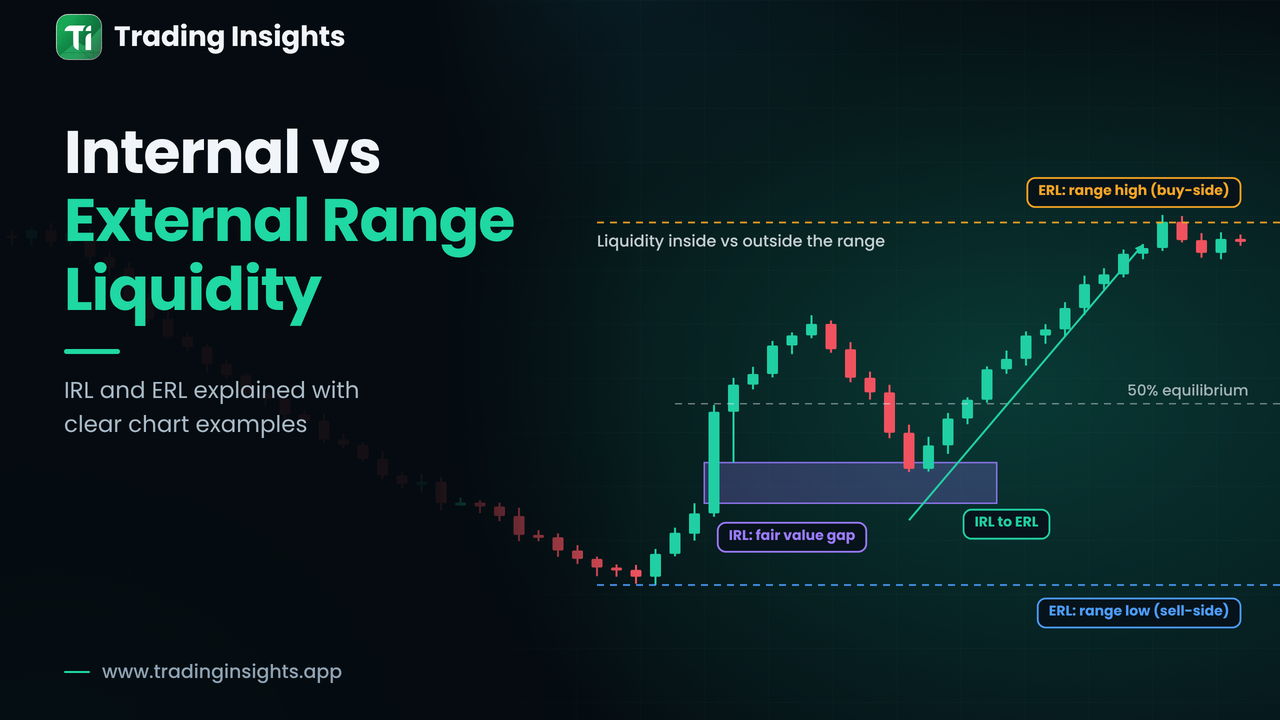
Gaps often appear at the start of the same moves. A zone that also contains an unfilled gap carries more detail for traders, and the rules for judging gaps are in how to identify a valid fair value gap. A zone that mostly consists of a long wick is a different idea again, explained in what a rejection block is.
A planning example
Suppose price breaks a swing high with a strong candle and leaves a bullish order block below. A cautious plan might be: mark the block, wait for price to return, look for a reaction on a lower timeframe, place the stop beyond the far side of the zone and size the position so that distance fits your risk limit. If a candle later closes below the block, the plan is cancelled. Only after that close, and a retest from underneath, would you begin to treat the zone as a breaker. Writing the plan in this order stops you from improvising after the move has already started.
Why a breaker is not automatically a trade
A failed order block can be a trap for early traders, but it can also simply be the start of a larger move that never returns. A breaker needs its own confirmation: a clear break of the zone, a retest and some sign of rejection. Without these, you are just adding a rectangle to the chart.
Common mistakes
Marking order blocks on every candle, including those that did not lead to a break of structure.
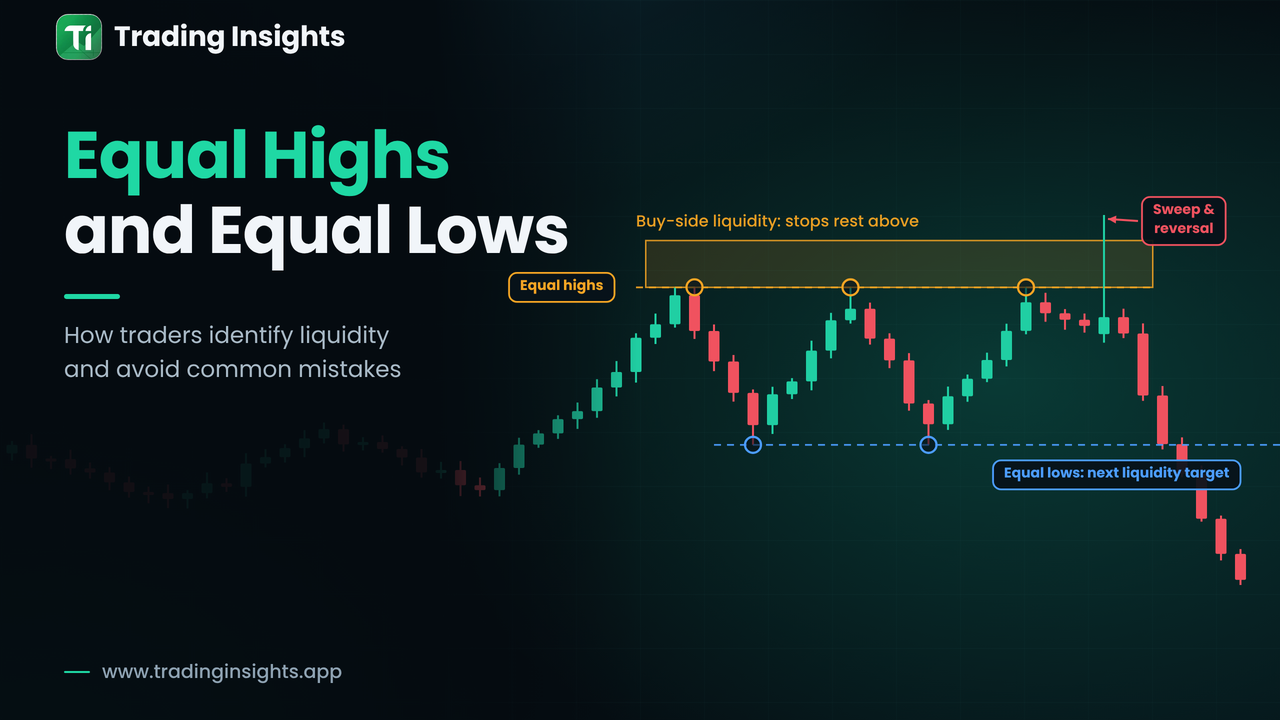
Calling a wick through the zone a failure. Most traders require a close.
Treating a breaker as valid after several touches. Zones tend to weaken each time they are visited.
Skipping higher-timeframe context. A bullish breaker against a strong downtrend is a lower-quality idea.
Frequently asked questions
Is a breaker block just a failed order block?
That is the most common definition: an order block that has been broken by a close and is then retested from the other side.
Can the same zone be both?
Not at the same time. It begins as an order block and may become a breaker if it fails.
Which is better to trade?
Neither is better in general. An order block suits continuation ideas, while a breaker suits reversal ideas after a failed zone. Both need confirmation and defined risk.
This article is for education only and is not financial advice. Trading carries risk, and these zones often fail.