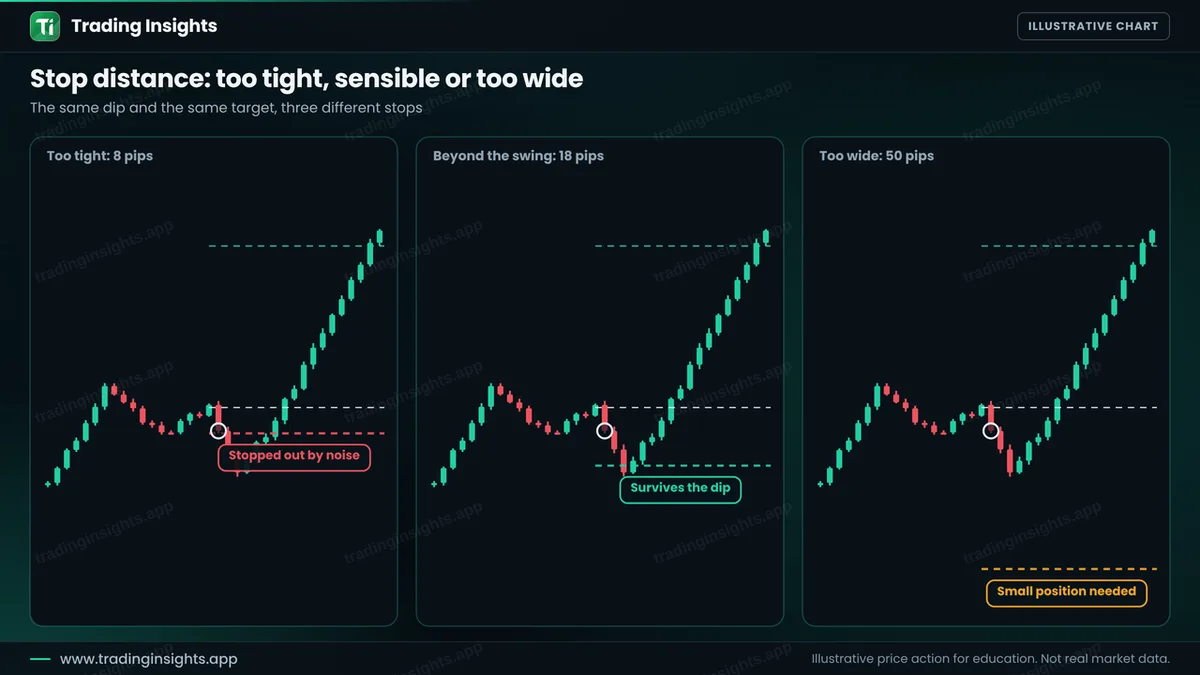
A stop loss is an order that closes a trade at a set loss, and a take profit is an order that closes it at a set gain. Together they define the two outcomes of a trade before you enter it. Beginners often treat them as an afterthought, but the placement of the stop decides your position size, and the placement of the target decides your risk-to-reward ratio. This guide shows how to use them in a simple trade with two targets, the usual ways to choose the levels, and what goes wrong when a stop is too tight or too wide.
One stop and two targets
Many traders split a position: they take part of the profit at a first, closer target, and leave the rest for a second, farther target. This is only one of several styles, but it shows how the three orders work together.
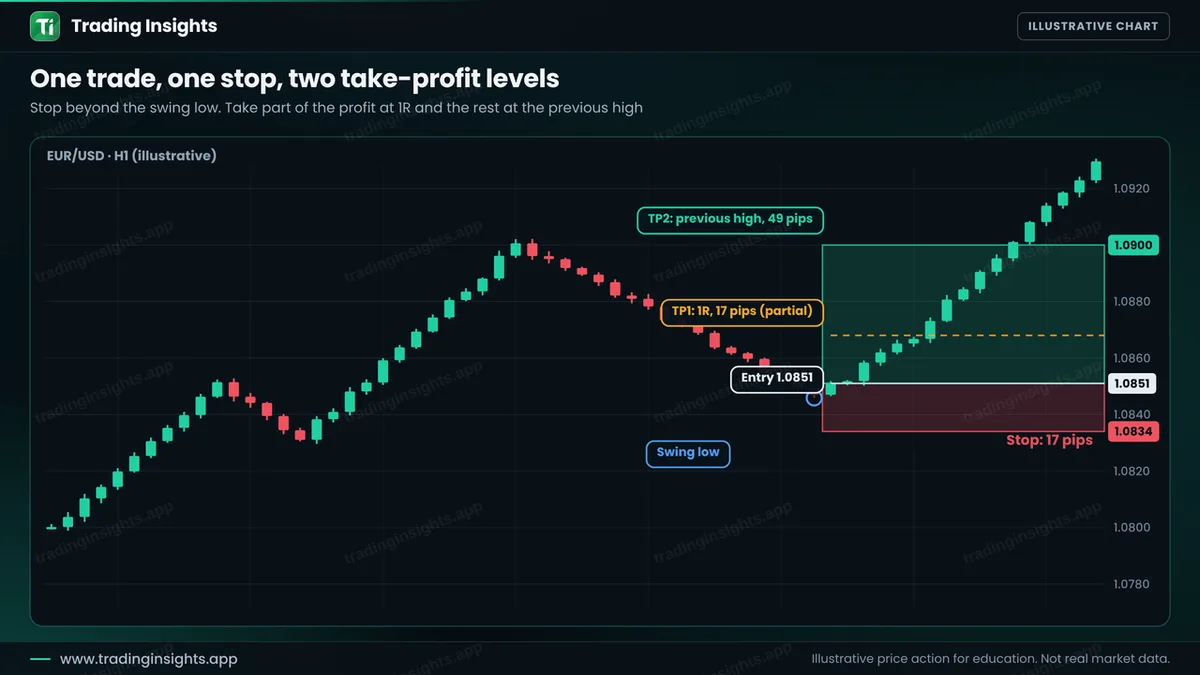
- Entry: 1.0851.
- Stop loss: 1.0834 (17 pips).
- TP1: 1.0868 (17 pips, 1:1). Close half here.
- TP2: 1.0900 (49 pips, about 1:2.9). Close the rest here.
With a $10,000 account risking 1% ($100), the full size is $100 / (17 x $10) = about 0.58 lot. If TP1 is hit, half the position (0.29 lot) earns about $49, and moving the stop to entry on the rest removes the risk on that part. The blended result if both targets are reached is about $49 + $142 = $191, or 1.9R. If the price reverses before TP1 you lose the planned $100. See position sizing and risk-to-reward.
Methods for placing the stop and the target
For the stop loss, the common methods are:
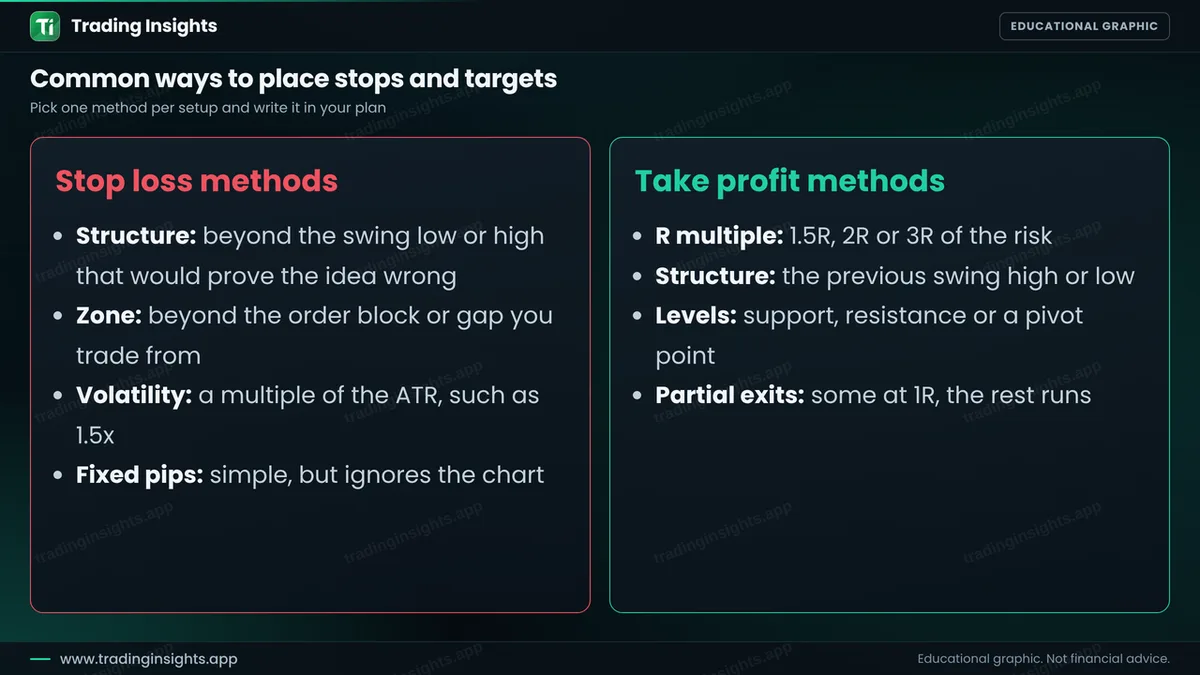
- Structure. Beyond the swing low or high that would prove the idea wrong. This is the method most price-action traders use. See how to find entry, stop loss and take profit.
- Zone. Beyond the order block or gap you trade from.
- Volatility. A multiple of the average true range (ATR), such as 1.5x, so that it adapts to the market.
- Fixed pips. Simple, but it ignores the chart.
For the take profit, the common methods are an R multiple (1.5R, 2R or 3R of the risk), the previous swing high or low, a support, resistance or pivot level, and partial exits, with some closed at 1R and the rest left to run.