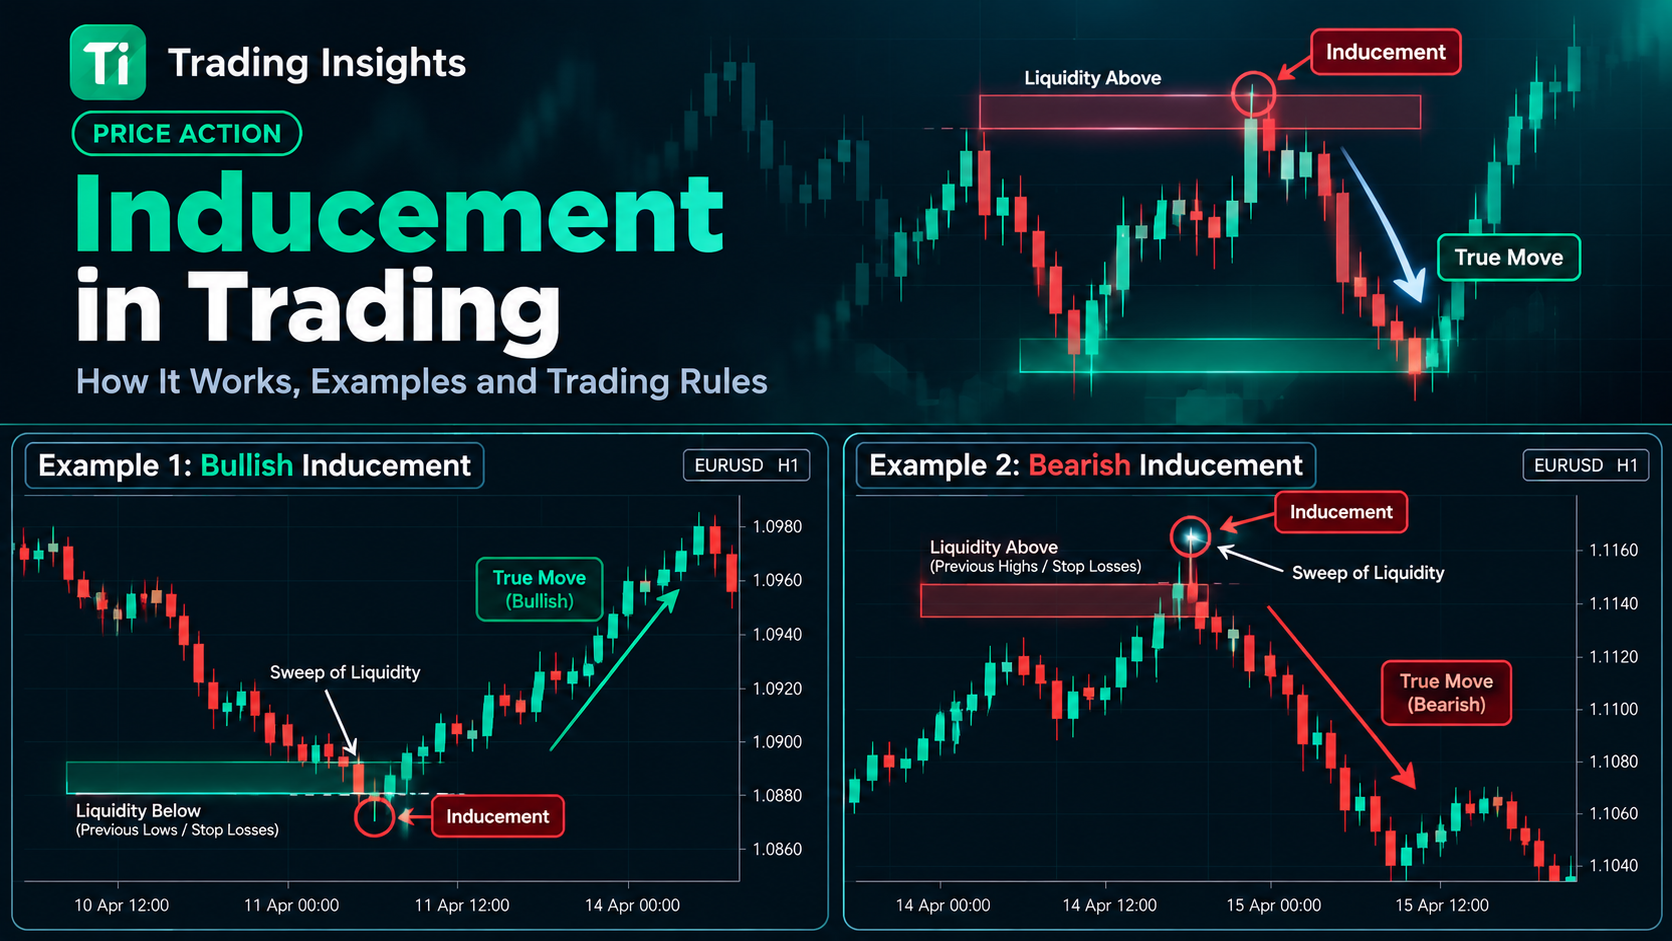
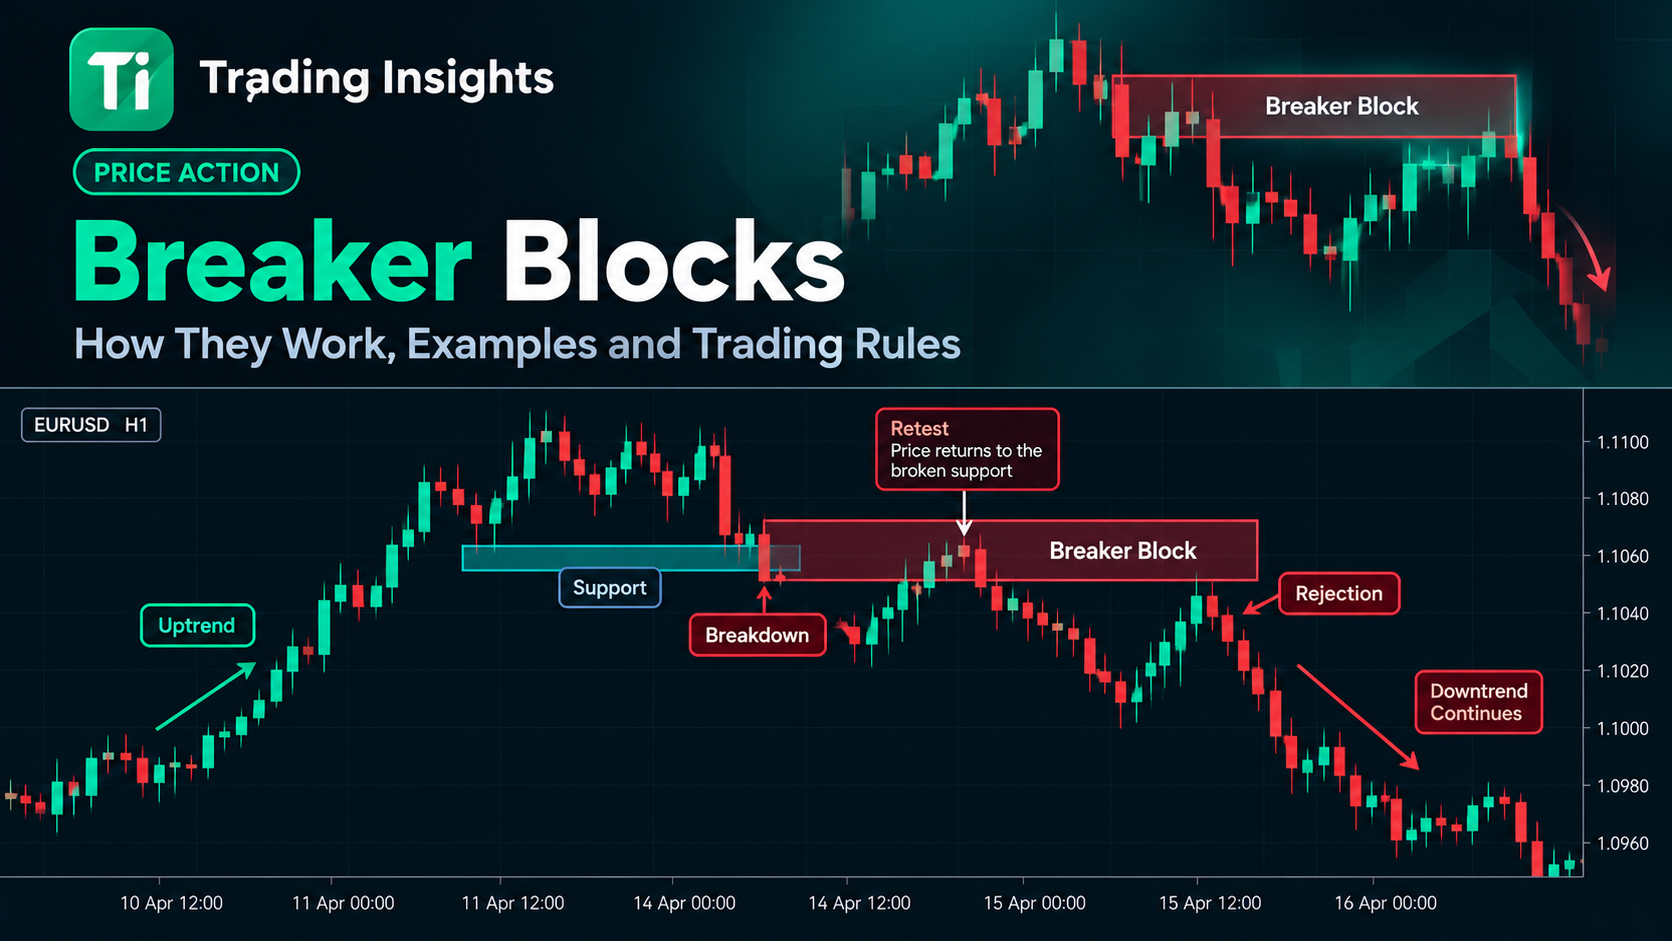
A breaker block is commonly described as a former order-block area that fails and is later approached from the opposite side. For example, a support-like bullish zone may break during a bearish structure move and later act as resistance on a retest. Definitions vary across trading methodologies, so state exactly which candle range and structure event qualify.
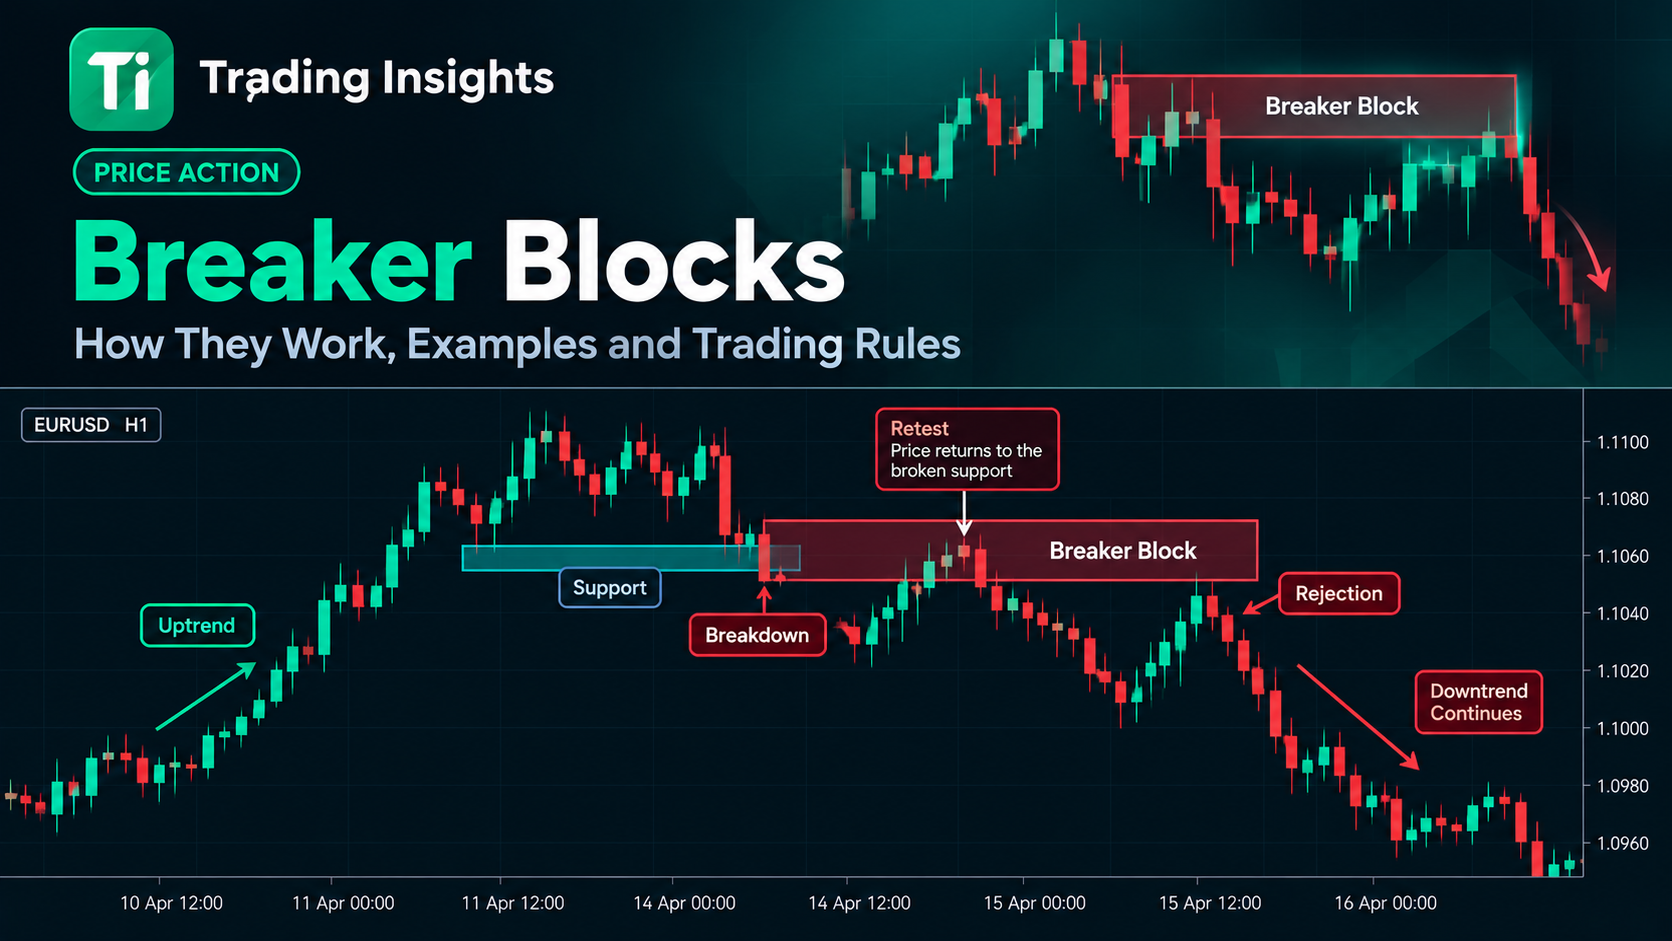
Illustrative chart: Former support zone breaks and is retested from below as resistance.
A practical identification sequence
Mark a clearly defined order-block candidate using consistent boundaries.
Wait for price to break through the zone in a way that invalidates its original role.
Check whether the break aligns with a meaningful structure change.
Observe a possible retest from the opposite side and apply your confirmation rule.
What to avoid
Not every broken zone becomes a useful breaker. Price may pass through without retesting, chop around the area, or reclaim it. Avoid drawing the zone after the reaction is already obvious.
Plan risk first
Decide what would invalidate the setup, how much you can lose, and where a reasonable target exists. Include spread, slippage, and market conditions in testing; a visual pattern by itself does not establish an edge.